Landed cost is the total expense for getting goods—covering purchase price, taxes, freight and more. In Microsoft Dynamics 365 Finance and Supply Chain, Landed cost module manages import logistics, letting businesses optimize shipping, stock levels, and meet demand efficiently. This knowledge is crucial for profit calculations.
Key terms of Landed Cost Module
Key concepts of Landed cost are.
- Voyage: Describes the movement from one place to another over a specific time from sales to purchase location.
- Folio: A shipment from a single vendor to a specific recipient, capable of consolidation into a single container or distribution across multiple containers as per shipping needs.
- Shipping Container: Defines pricing for cost types and contains important shipment information.
- Cost Type: Identifies import costs like freight, duty, and insurance.
- Auto Cost: Similar to trade agreements, associated with the voyage level.
- Vessel: The transport medium for goods, like a ship or airplane.
- Goods in Transit: Goods move to an in-transit warehouse upon invoice update based on configured settings.
- Activity: Tracks significant transition steps between ports, aiding in updating dates.
- Journey Template: Defined template for the route a vessel takes between ports.
How to Use the Landed Cost Module
Landed Cost is calculated by combining the Item Price with Shipping/Freight Costs, Customs Duties, Risk, and Operating Expenses. To start using the landed cost functionality in Microsoft Dynamics 365 you have to enable it and define some basic setup,
Enable the Landed Cost Module:
Make sure that the landed cost module is enabled in the Microsoft Dynamics 365 ecosystem. If not, a user with the role of system administrator can enable it from the feature management workspace.
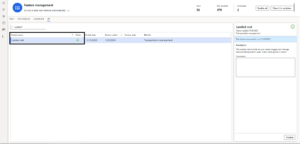
How to Create a new voyage via Landed Cost:
- Begin by creating a purchase order (PO). Ensure the selected warehouse in the PO encompasses transit, quarantine, goods in transit, and under delivery designations.

- Define the delivery terms under the ‘Delivery Details’ fast tab in the PO header, selecting a term with the ‘goods in transit’ toggle activated.
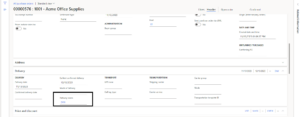
- Fill in the necessary PO information and confirm the purchase order.
- Navigate to ‘Landed Cost Module > All Voyages’ and initiate a new voyage. You’ll find the PO line you’ve created.
- Here you will see the line of PO you just created.
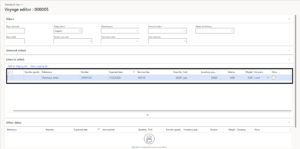
- Select the line and click ‘Add to Staging,’ then click on ‘Add to New Shipping Container.’
- Select a shipping container, Journey Template, and ship date.
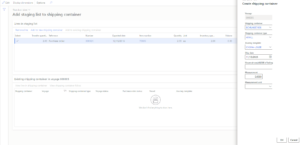
- Upon confirmation, you will receive a success message indicating the creation of your voyage with a ‘Created’ status.
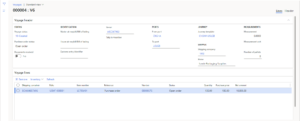
- Explore ‘Tracking’ in the inquiries section of the general tab to monitor the delivery activities involved.
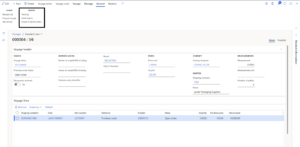

- The estimated dates and days, populated through the journey template, will update as you input the actual dates.
More on landed cost like setting up journey templates and cost type setup will be covered in a future blog.
Thank You!